

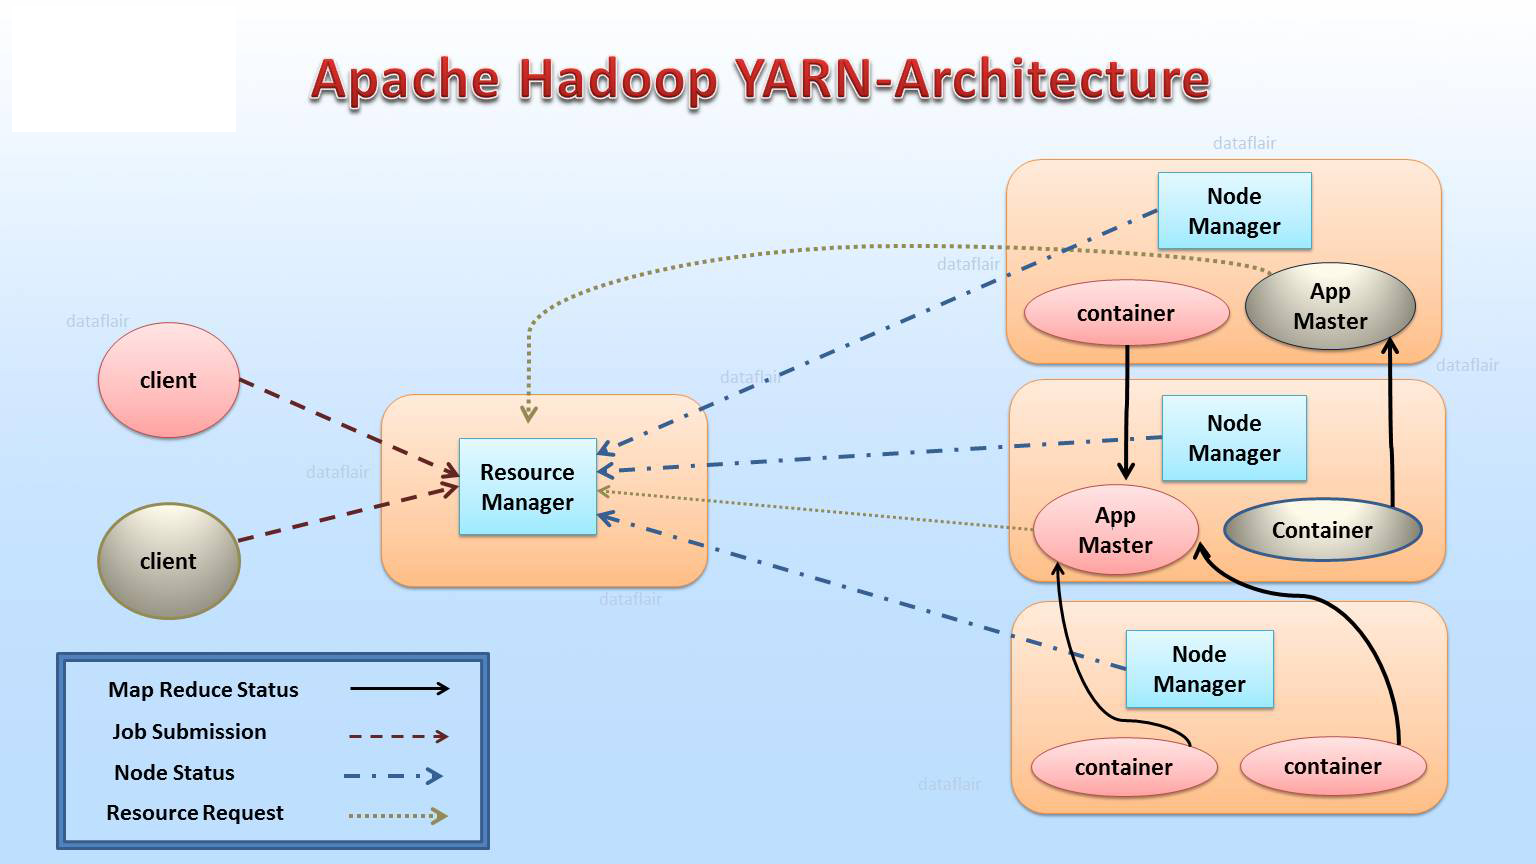
Hadoop Yarn Architecture
6th March 2020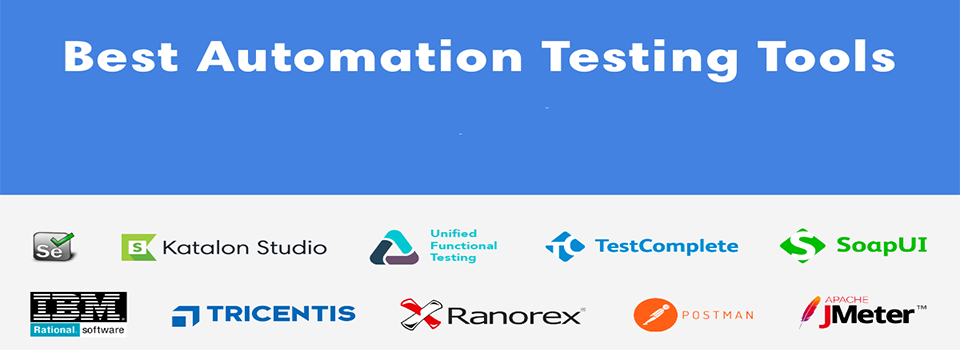
Best Automation Testing Tools
9th March 2020
WooCommerce is the most popular eCommerce WordPress platform that accounts for more than 23% of the total number of eCommerce websites over the world. This platform helps users have online stores with common managing tools such as creating a cart, shipping management, order management, payment, order, tax, etc.
Although WooCommerce provides many features and tools, it just adapts the basic needs of an online store. If your product contains special but WooCommerce unsupported information, you have to use an extra tool to add custom fields. In this article, we will use Meta Box to help you do that.
What is Meta Box?
Meta Box is one of the top-notch plugins that help users create and configure custom fields for your WordPress website.
Meta Box has a free version in WordPress.org
If you just use the plugin above, you have to code yourself to have the desired custom fields.
Create Custom Fields for WooCommerce using Meta Box
THE FIRST METHOD: CREATE FIELDS USING ONLINE GENERATOR
Step 1: Create Necessary Fields
Step 2: Adding Code of The Fields to Website
THE SECOND METHOD: CREATE FIELD USING META BOX BUILDER
First, you need to install Meta Box Builder. After installing, you will have an interface to create custom fields right in the admin dashboard.
Find the menu Meta Box > Custom Fields và chọn Add New to add custom fields for your website.
In the interface to create custom fields, on the Fields tab (1), name the field group (ie the meta box containing your custom fields) in position (2), and then the Meta Box will automatically create the corresponding ID (3) or you can edit it yourself.
Next, choose the field type that you want (4) and a corresponding field will show up (5). And then, you just need to correct and fill in the information.
Repeat the manipulation (4) and (5) until you completely create all the fields you want.
Finally, move to the Settings tab and select the name of the post type that you want to display these fields in the Post types section.


