


Netflix Logo Evolution: From Initial Designs to the Iconic “Tudum!”
20th March 2024
Capacitor vs Cordova: What are the Differences Between Them
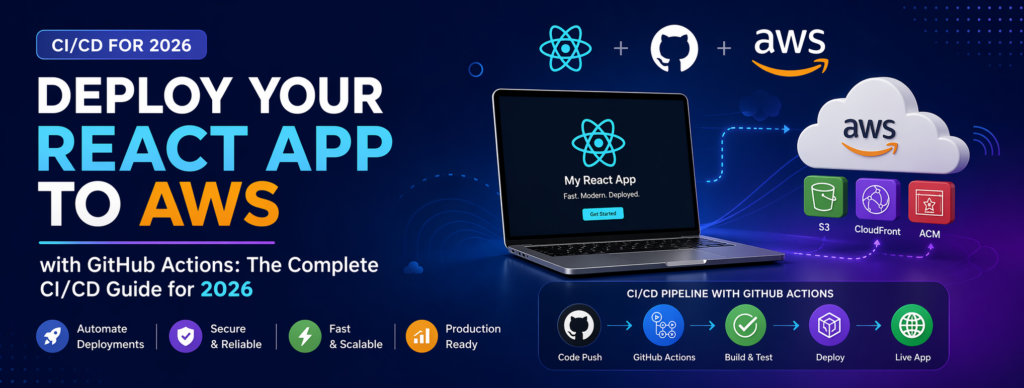
3rd April 2024How to Upload Large Files to AWS S3 without Putting Pressure to Your Backend Server (Node.js Example)

If you know how to use an AWS S3 signed URL to upload files directly from the UI, then there’s no reason to read it. You already got this.
Amazon Web Services (AWS) S3 is one of the most popular services offered by AWS. It is used to store files. it’s just like a big hard disk, where you make your folder and keep files. They offer SDKs, and APIs to upload files from your applications. After working with multiple developers, I have seen a tendency for them to somehow end up involving their backend server for upload operations. First, they send the file to the backend server through API from the mobile or web app, it gets the buffer data, writes it to the disk, and then calls s3’s putFile method to upload the file from the disk to S3. There is no problem with this approach except this is costly. Suppose your application allows you to upload large files, then your backend server will be responsible for handling a huge amount of data which will take extra bandwidth, and disk space and is kind of unnecessary as your ultimate goal is to move that file to S3. So here’s the solution –
To demonstrate this particular case, I have taken a NodeJS server(express js) as our back-end server and a React JS application for front-end operations.
Step — 1 (Setup AWS SDK in Backend Server)
Open the project folder in the terminal and run the below command to install aws-sdk for javascript in your project. Assuming you have already installed NodeJS and have a setup of a node js project.
npm install aws-sdk – save
Initiate AWS with your configuration. You can retrieve the access key and secret key from the AWS Console. Sign in to your account. From top-right, click on account name > Security Credentials. Scroll to the Access Keys section to create or get the access key and secret key.
Let’s create a file named s3.js and put the following contents inside the file –
const aws = require(‘aws-sdk’);
aws.config.update({
region: ‘xx-xxxx-x’, // Put your aws region here
accessKeyId: ‘xxxxxxxxxxxxxxxx’,
secretAccessKey: ‘xxxxxxxxxxxxxxxx’
})
Next step is to create a function which will be called inside a route defined in your express js application. Assuming you have already created a bucket in S3. I will come to in-depth permissions and access required in later stage. We can change it after creating a S3 bucket. So initially you can proceed with default configurations.
const S3_BUCKET = “xxxxxxxx” // your S3 bucket name
module.exports.uploadFile = (fileName,fileType) => {
const s3Params = {
Bucket: S3_BUCKET,
Key: fileName,
Expires: 500,
ACL:”public-read”,
ContentType: fileType
};
s3.getSignedUrl(‘putObject’, s3Params, (err, data) => {
if(err){
throw err;
}
const result = {
signedRequest: data,
url: `https://${S3_BUCKET}.s3.amazonaws.com/${fileName}`
};
return result;
});
}
Let’s create a simple route in your express js application, and call this function. Remember to put async-await or create Promise based function.
const Router = require(‘express’).Router();
const s3 = require(‘./s3’);
Router.get(“/signed-url”,async function(req,res){
const {fileName, fileType} = req.query;
const result = await s3.uploadFile(fileName,fileType);
res.send(result);
})
Now our back-end server is ready. Now we will move to our front-end part. Where on file upload, we need to call this api and complete next steps.
Step — 2 (Calling API from front-end)
First part is to create a simple html with input type file to open file explorer on click. On selecting a file we are going to call a function, which will hold the file in a react state.
import React, { useState } from ‘react’;
import Axios from ‘axios’;
export default function Upload() {
const [file,setFile] = useState();
const onChangeFile = (e) => {
if(!(e && e.target.files && e.target.files[0])){
return;
}
let fileObj = e.target.files[0];
setFile(fileObj);
}
return (
<section>
<div>Upload File</div>
<input type=”file” onChange={(e)=>onChangeFile(e.target.files[0].)} />
<button>Upload</button>
</section>
)
}
Then on clicking the Upload button we will call a function to call the get signed url api in our api server.
import React, { useState } from ‘react’;
import Axios from ‘axios’;
export default function Upload() {
const [file,setFile] = useState();
const onChangeFile = (e) => {
if(!(e && e.target.files && e.target.files[0])){
return;
}
let fileObj = e.target.files[0];
setFile(fileObj);
}
const getSignedUrl = () => {
if(!file){
return;
}
let queryParams = {
fileName:file.name,
fileType:file.type
}
Axios.get(“/api/signed-url”,{
params:queryParams
}).then(result=>{
const signedURI = result.signedRequest;
})
}
return (
<section>
<div>Upload File</div>
<input type=”file” onChange={(e)=>onChangeFile(e.target.files[0].)} />
<button onClick={getSignedUrl}>Upload</button>
</section>
)
}
Now we will get the signed url inside signedURI variable. Now we will write another function which will put this file to AWS S3, using the signedURI.
const getSignedUrl = () => {
if(!file){
return;
}
let queryParams = {
fileName:file.name,
fileType:file.type
}
Axios.get(“/api/signed-url”,{
params:queryParams
}).then(result=>{
var signedURI = result.signedRequest;
uploadFileToS3(signedURI);
})
}
const uploadFileToS3 = (url) => {
if(!file){
return;
}
var options = {
headers: {
‘Content-Type’: file.type,
‘Content-Disposition’: ‘attachment’ // requires if you always want to download the file instead of displaying in browser
},
onUploadProgress: function (progressEvent) {
var percentCompleted = Math.round((progressEvent.loaded * 100) / progressEvent.total);
console.info(percentCompleted) // gives you the percentage of upload progress
}
};
Axios.put(url, file, options).then(response => {
// upload completed
}).catch(error => {
// error occured.
})
}
Remember we will call an S3 signed url directly from our front-end application and that will be a PUT request. Also this signed url has a expiry time which is defined when we created the signed url from our backend server. So you need to use the url by that time. If you store it somewhere and use later, it might not work because of the expiry time.
Hope the process seems clear. This process gives nearly zero load to your backend server.
But to achieve this entirely you need to configure few settings in your S3 bucket which I am explaining in next section of the article
S3 Configuration
Open your bucket, navigate to Permissions tab, scroll down to Cross-origin resource sharing (CORS) section, and edit. Put following contents inside the editable text area.
[
{
“AllowedHeaders”: [
“*”
],
“AllowedMethods”: [
“PUT”
],
“AllowedOrigins”: [
“*”
],
“ExposeHeaders”: []
}
]

