


What’s new in Flutter 3.7
2nd March 2023
What Is Unity? Get Started With Game Development Using Unity
4th March 2023
The trim path is a feature in After Effects that I used the most to create animated strokes, hand-drawn animated text, animated loading bar and a lot more… The After Effects trim path allows you to customize and animate a vector path. In this tutorial, I will demonstrate how to create a trim path, animate it and customize the trim path to your need. Finally, I also give you some goodies like the After Effects project source files so you can use them or see how I have created the trim path animation. www.adobe.com/in/products/aftereffects.html
Now let’s get straight to it
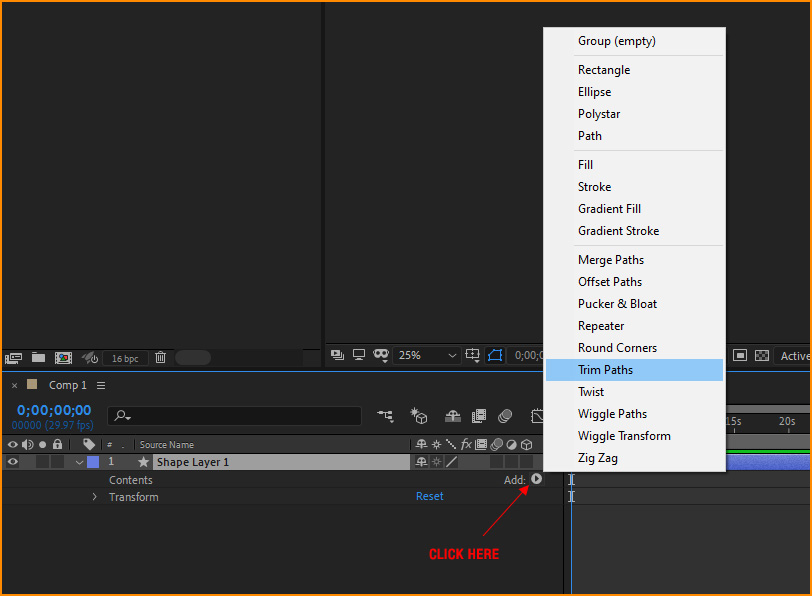
Where are the trim paths located in After Effects?
In After Effects, the trim path can be found in any shape layer properties under the Add: drop-down menu.
Follow these steps to reach the trim path menu options
1. Create a Composition
2. Create a Shape Layer
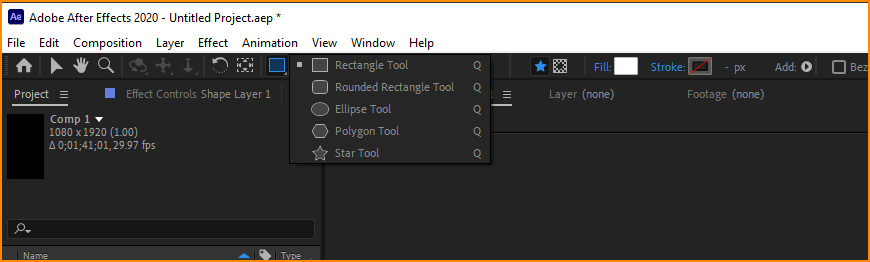
3. On the timeline expand your shape layer, then in front of the content you will see Add: click on the arrow
4. You should now see the menu, just click on trim paths
Things you should know
The trim path effect is only available for the shape layer, converted text to shape layer and converted Illustrator file. The trim path effect menu won’t show up if you use solid images.
How to use the trim paths in After Effects?
Now that you know how to reach the trim paths menu, let’s create a simple animation with it.
1. Create a Composition – 1920×1080
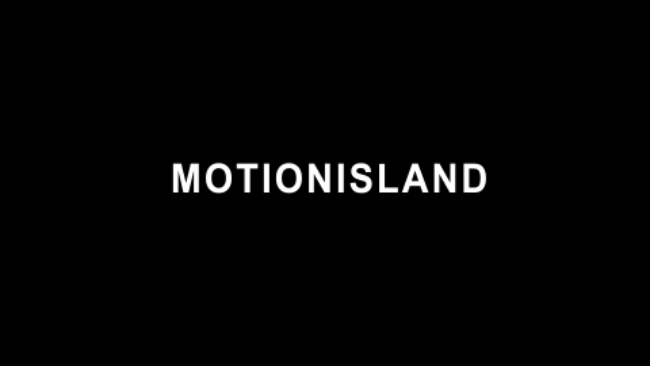
2. Type a text like below

3. Click on the shape rectangle tool and make sure your fill is empty and the stroke is at 19px

4. Now draw a rectangle around the text like the example below
5. Go the to timeline area and click on the arrow next to “add:” and select Trim Paths
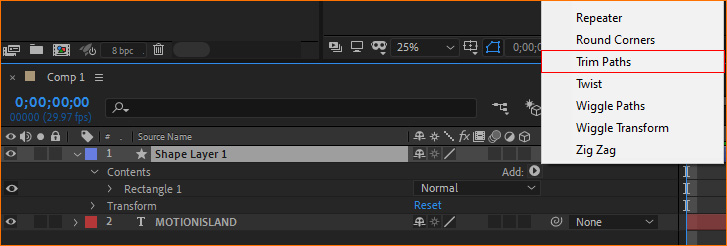
6. Expand Trim Paths 1 and create 2 keyframes such as those below
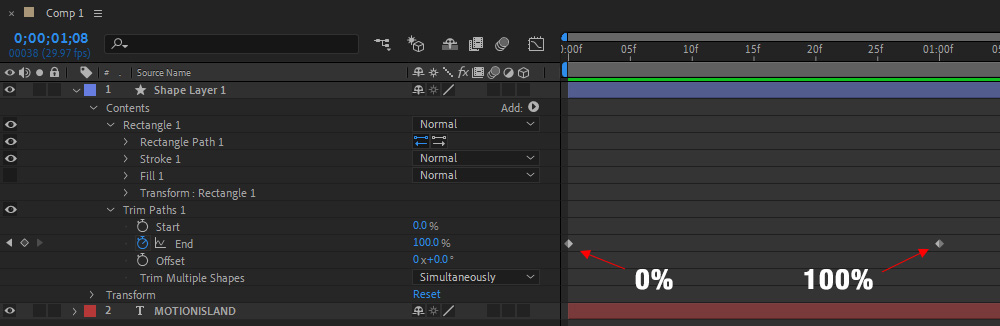
7. You should have an animation like below
8. Now you want to change the direction of the trim path click on the reverse path direction icon.
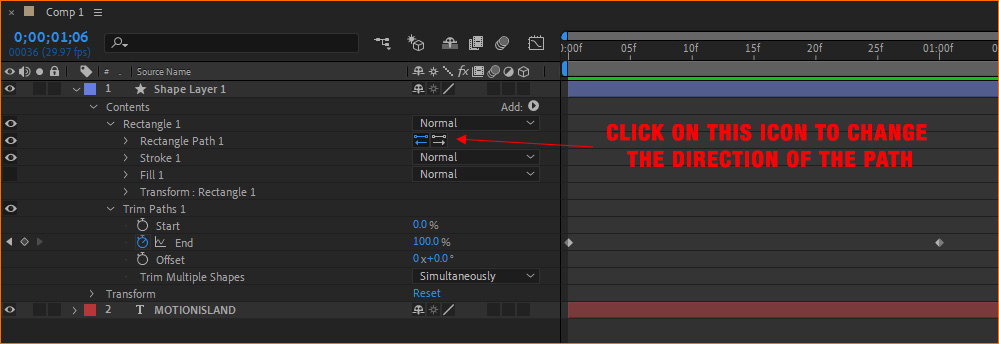
9. Once you have click on the reverse path icon you should now have the animated path going the opposite way like in the video below
10. Now you don’t like where the trim path starts? No worries you can offset the starting point check below
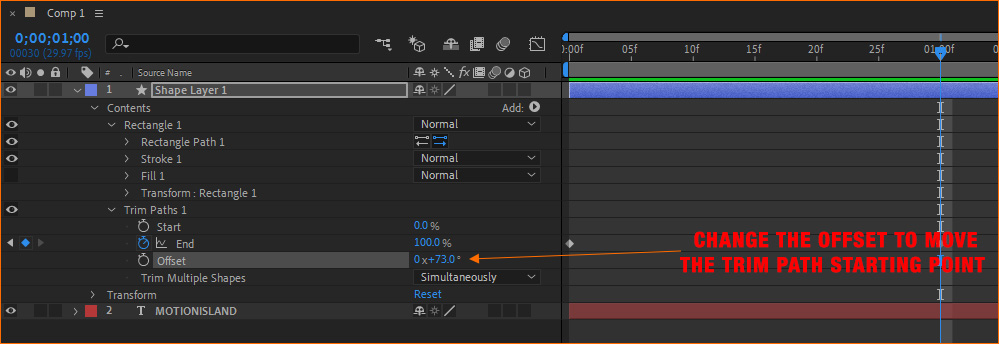
11. Now you should have your trim path offset moved like in the video below
Related Blog:- https://xpertlab.com/illuminating-dark-mode/
For More Info:- www.xpertlab.com
